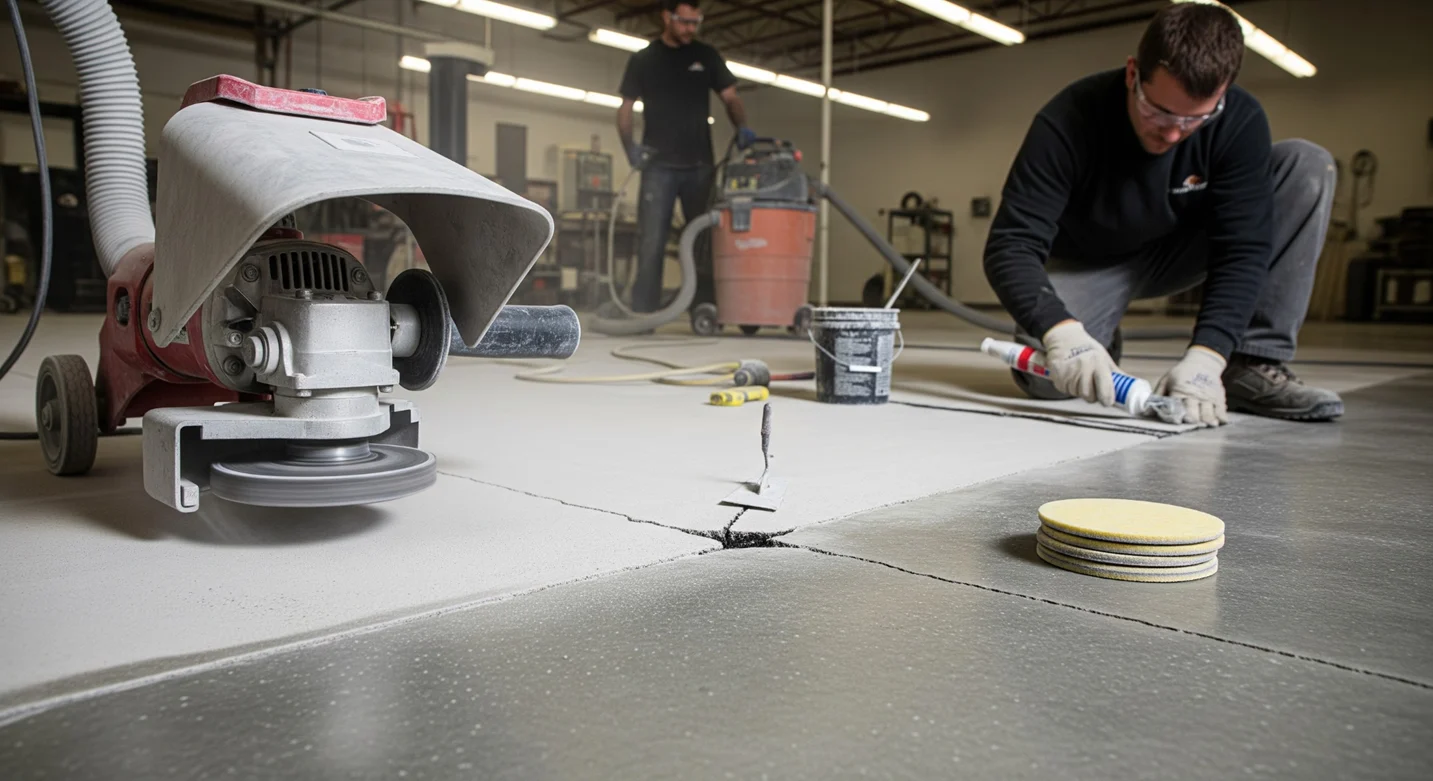
Preparing a concrete floor for epoxy coating involves mechanical grinding, crack and spall repair, moisture testing, and contaminant removal. Each step creates the conditions the coating needs to bond properly and last. Epoxy Floors N More thoroughly assesses and diamond grinds every surface before any coating goes down for our customers across Fort Myers and Southwest Florida.
What does it actually take to prepare a concrete floor before epoxy? If you’ve looked at DIY kit instructions, the answer seems simple: acid etch and roll. If you’ve talked to a professional installer, the answer involves equipment, testing, and a process that takes most of the day before the first drop of coating touches the slab. The difference between those two approaches is the difference between a floor that lasts and one that peels.
This guide covers what proper preparation involves and why each step matters.
Step 1: Assess the Concrete Condition
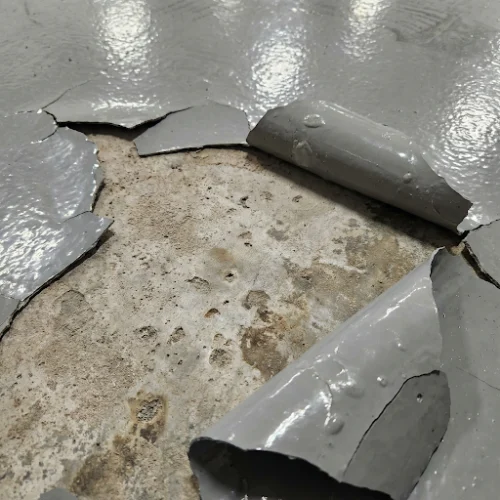
Before any grinding starts, the floor needs a thorough evaluation. The installer checks for structural cracks versus surface cracks, previous coatings or sealers that need removal, oil stains and chemical contamination, surface hardness, and moisture conditions.
In Southwest Florida, moisture is the assessment step that matters most. The high water table in Fort Myers, Cape Coral, and Lehigh Acres pushes moisture vapor through concrete slabs continuously. A coating applied over a slab with active moisture problems typically bubbles and delaminates even with thorough grinding. Our guide on preparing concrete for sealing covers how moisture testing works in detail.
Step 2: Diamond Grind the Surface
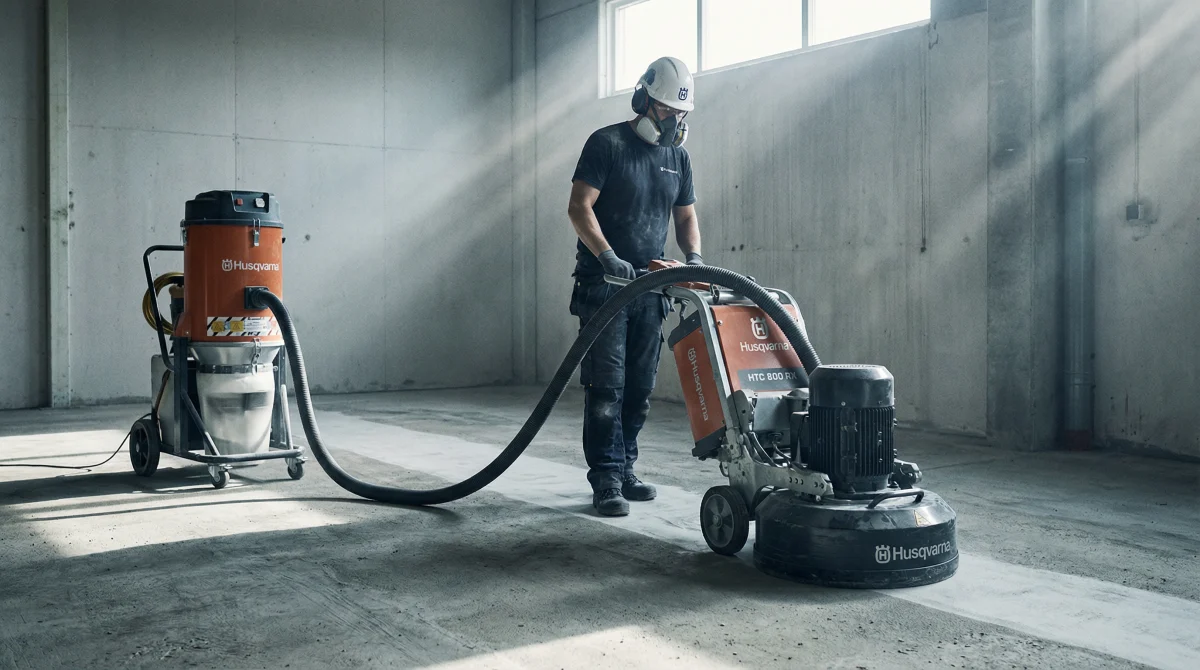
Diamond grinding is the foundation of professional surface preparation. A walk-behind grinder fitted with diamond-segment discs removes the top layer of concrete along with any paint, sealer, adhesive, or surface contamination. What remains is a uniformly profiled surface with open pores that epoxy can mechanically grip.
Grinding produces a CSP-2 to CSP-3 profile (Concrete Surface Profile), which is the range most epoxy and polyurea manufacturers specify for proper adhesion. The profile is consistent across the entire floor, including edges, corners, and areas around drains.
Acid etching, the method recommended in most DIY kits, produces an inconsistent profile that varies based on the concrete’s composition and existing contaminants. Areas with oil stains don’t react to acid at all. The result is a floor with strong adhesion in some spots and almost none in others.
Step 3: Repair Cracks, Spalls, and Joints
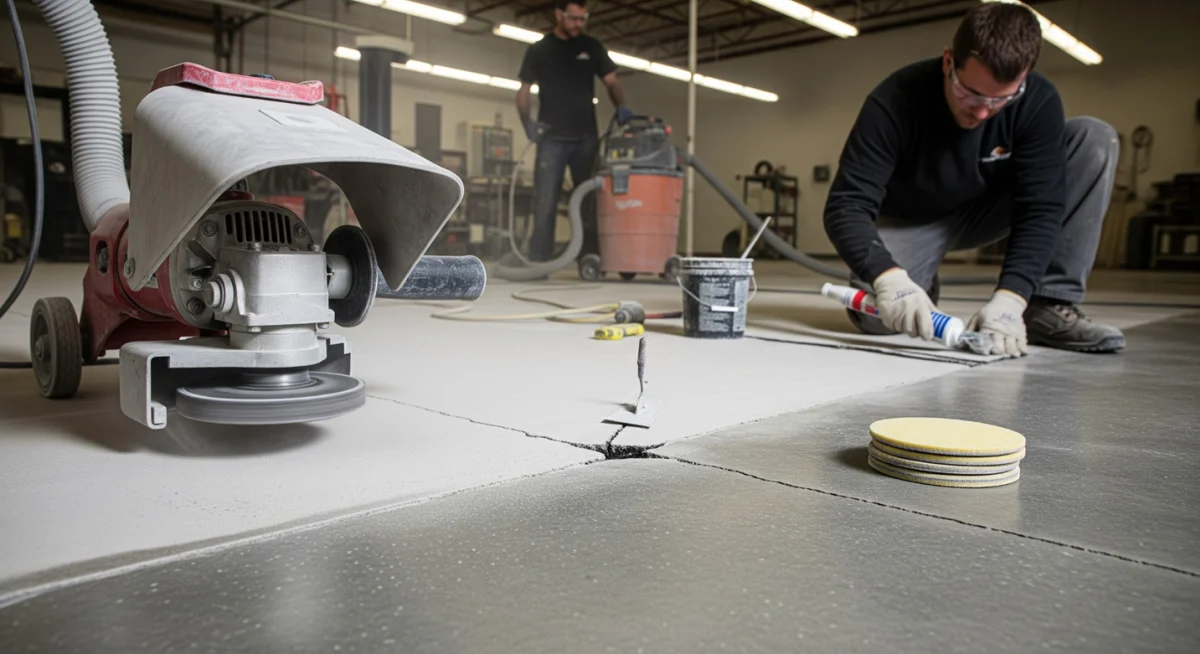
After grinding exposes the clean concrete surface, every crack, spall, and damaged control joint needs repair. Cracks wider than a hairline are filled with a flexible polyurea filler that moves with the slab through Florida’s thermal cycling rather than cracking again at the repair line.
Spalled areas (sections where the surface has flaked or chipped away) are filled and leveled. Control joints are addressed based on whether they’ll be filled or left as decorative lines in the finished floor.
Skipping crack repair doesn’t just leave a cosmetic issue. Unfilled cracks telegraph through the finished coating within months, creating visible lines and potential delamination points where moisture can work underneath.
Step 4: Test for Moisture
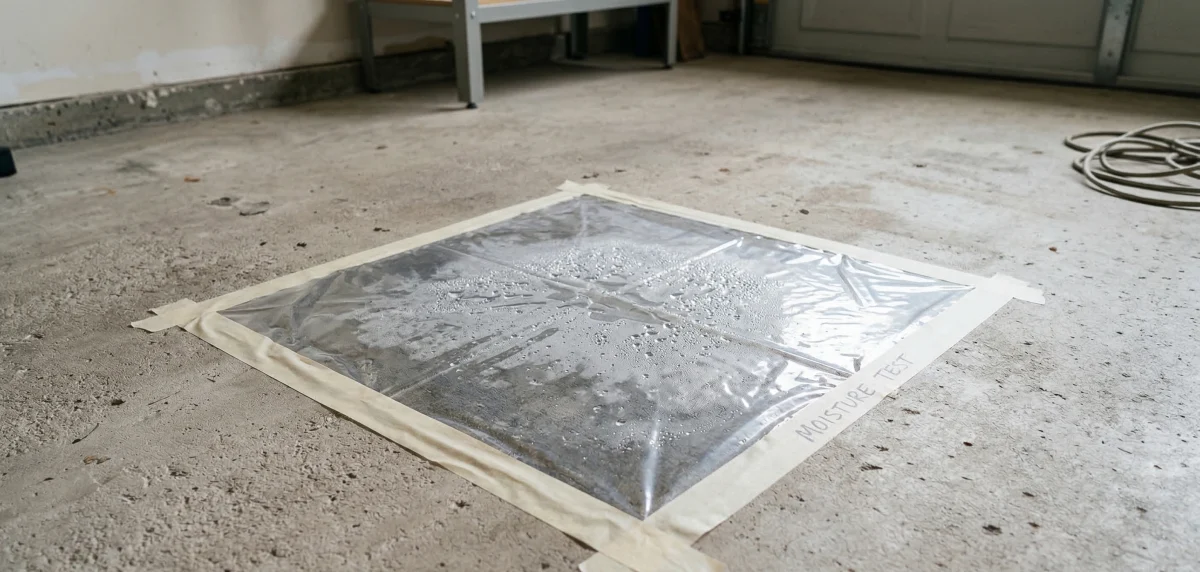
Moisture testing determines whether the slab’s vapor emission rate falls within the coating manufacturer’s acceptable range. In Southwest Florida, where ground moisture and humidity are year-round factors, this step catches problems that would otherwise show up as coating failure after installation.
The calcium chloride test (ASTM F1869) measures the rate of moisture vapor emission from the concrete surface over a 60- to 72-hour period. If the reading exceeds the manufacturer’s threshold, a moisture mitigation primer is applied before the coating system. This adds cost but prevents the far more expensive failure of a coating that lifts from moisture pressure underneath.
Step 5: Clean and Decontaminate
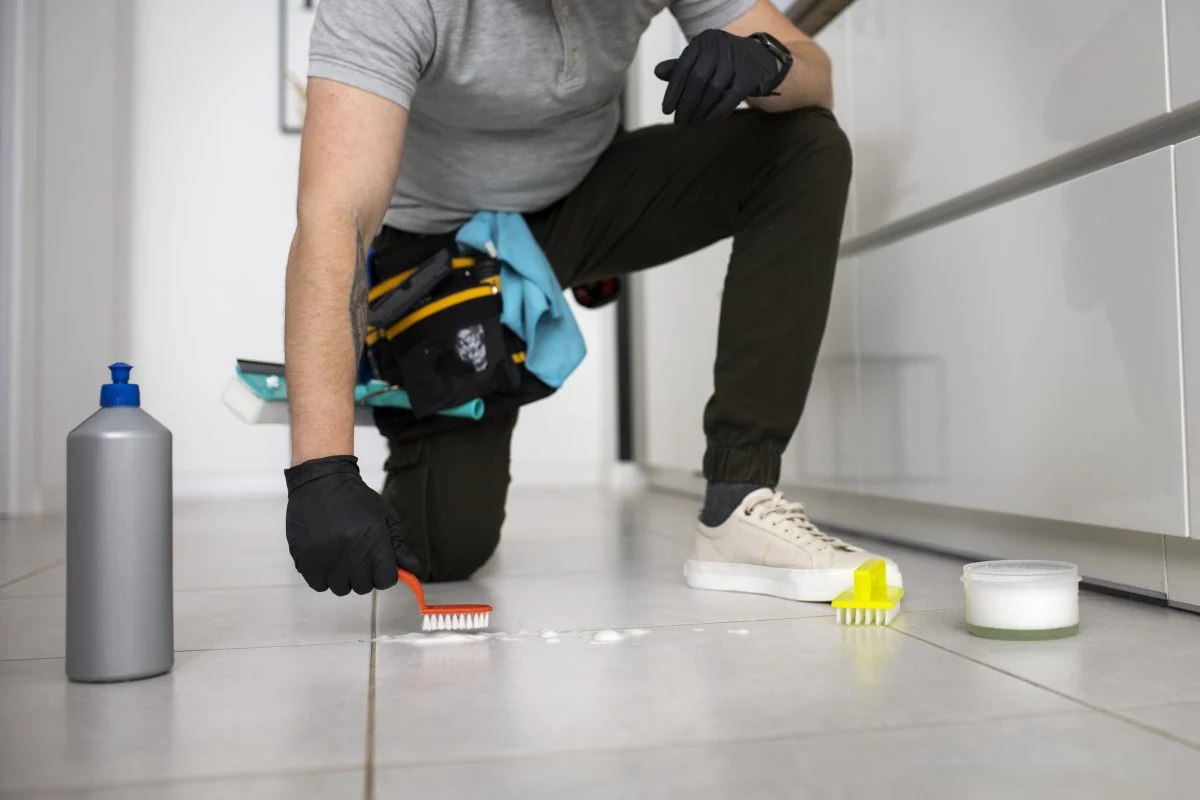
After grinding, patching, and moisture testing, the floor is vacuumed thoroughly to remove all dust and grinding residue. Any remaining oil or chemical contamination is treated. The surface must be completely clean and dry before the epoxy flooring system goes down.
This final cleaning step is where rushed installations cut corners most often. Dust left on the surface creates a weak layer between the concrete and the coating. The epoxy bonds to the dust, not the concrete, and the floor fails at that interface.
What Happens When Prep Is Skipped
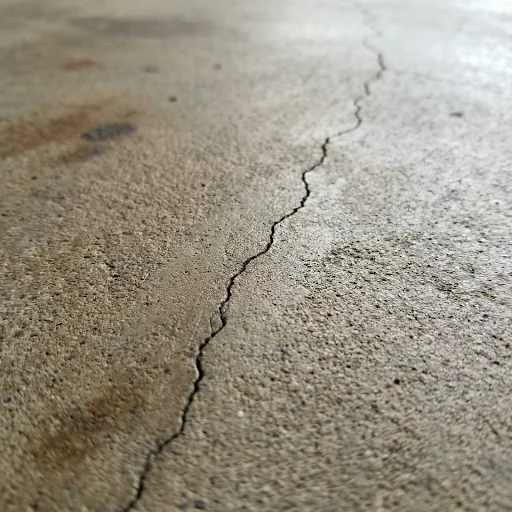
Even the most expensive coating is likely to fail on a slab that wasn’t properly prepared. Epoxy Floors N More regularly recoats floors where the original installer skipped grinding, used only acid etching, or applied coating over existing sealers. The repair can cost as much as doing it right the first time would have.
For homeowners comparing bids, the question to ask any contractor is: what is your surface preparation process? The answer reveals more about expected results than the coating brand does.
Frequently Asked Questions
Can I prepare a concrete floor for epoxy myself?
You can rent a diamond grinder and do basic surface preparation, but the equipment requires experience to operate consistently. Uneven grinding creates high and low spots that show through the finished coating. Most DIY failures trace back to insufficient or inconsistent prep rather than product quality. For a deeper look at what professional preparation involves, visit our garage floor coating service page.
How long does professional concrete floor prep take?
For a standard two-car garage, grinding and crack repair typically take three to four hours. The full installation, including coating application, completes in one to two days depending on the system. Epoxy Floors N More’s process moves efficiently from grinding through final application.
Does the concrete need to be completely dry before applying epoxy?
Yes. Concrete moisture content must fall within the coating manufacturer’s specified range before application. In Southwest Florida, where slabs sit on high water-table soil, moisture testing is a critical step that should never be skipped. Coating over a slab with active moisture vapor drive typically leads to adhesion failure even with thorough surface preparation.
Get the Foundation Right Before the Coating Goes Down
Every epoxy floor that lasts starts with properly prepared concrete. Diamond grinding, crack repair, moisture testing, and thorough cleaning aren’t optional. They’re the foundation the coating bonds to.
If your floor needs a fresh start, request a free quote onlineSkipping prep is the #1 reason coatings fail. Want to see how we approach prep on every concrete coating install? We diamond-grind, repair, and prime every surface before coating.
from Epoxy Floors N More or call (239) 339-7238 and we’ll assess the slab before any coating is applied.
Written by
Timothy Gonzalez
Epoxy Floors N More shares practical guidance based on floor coating work across Southwest Florida.