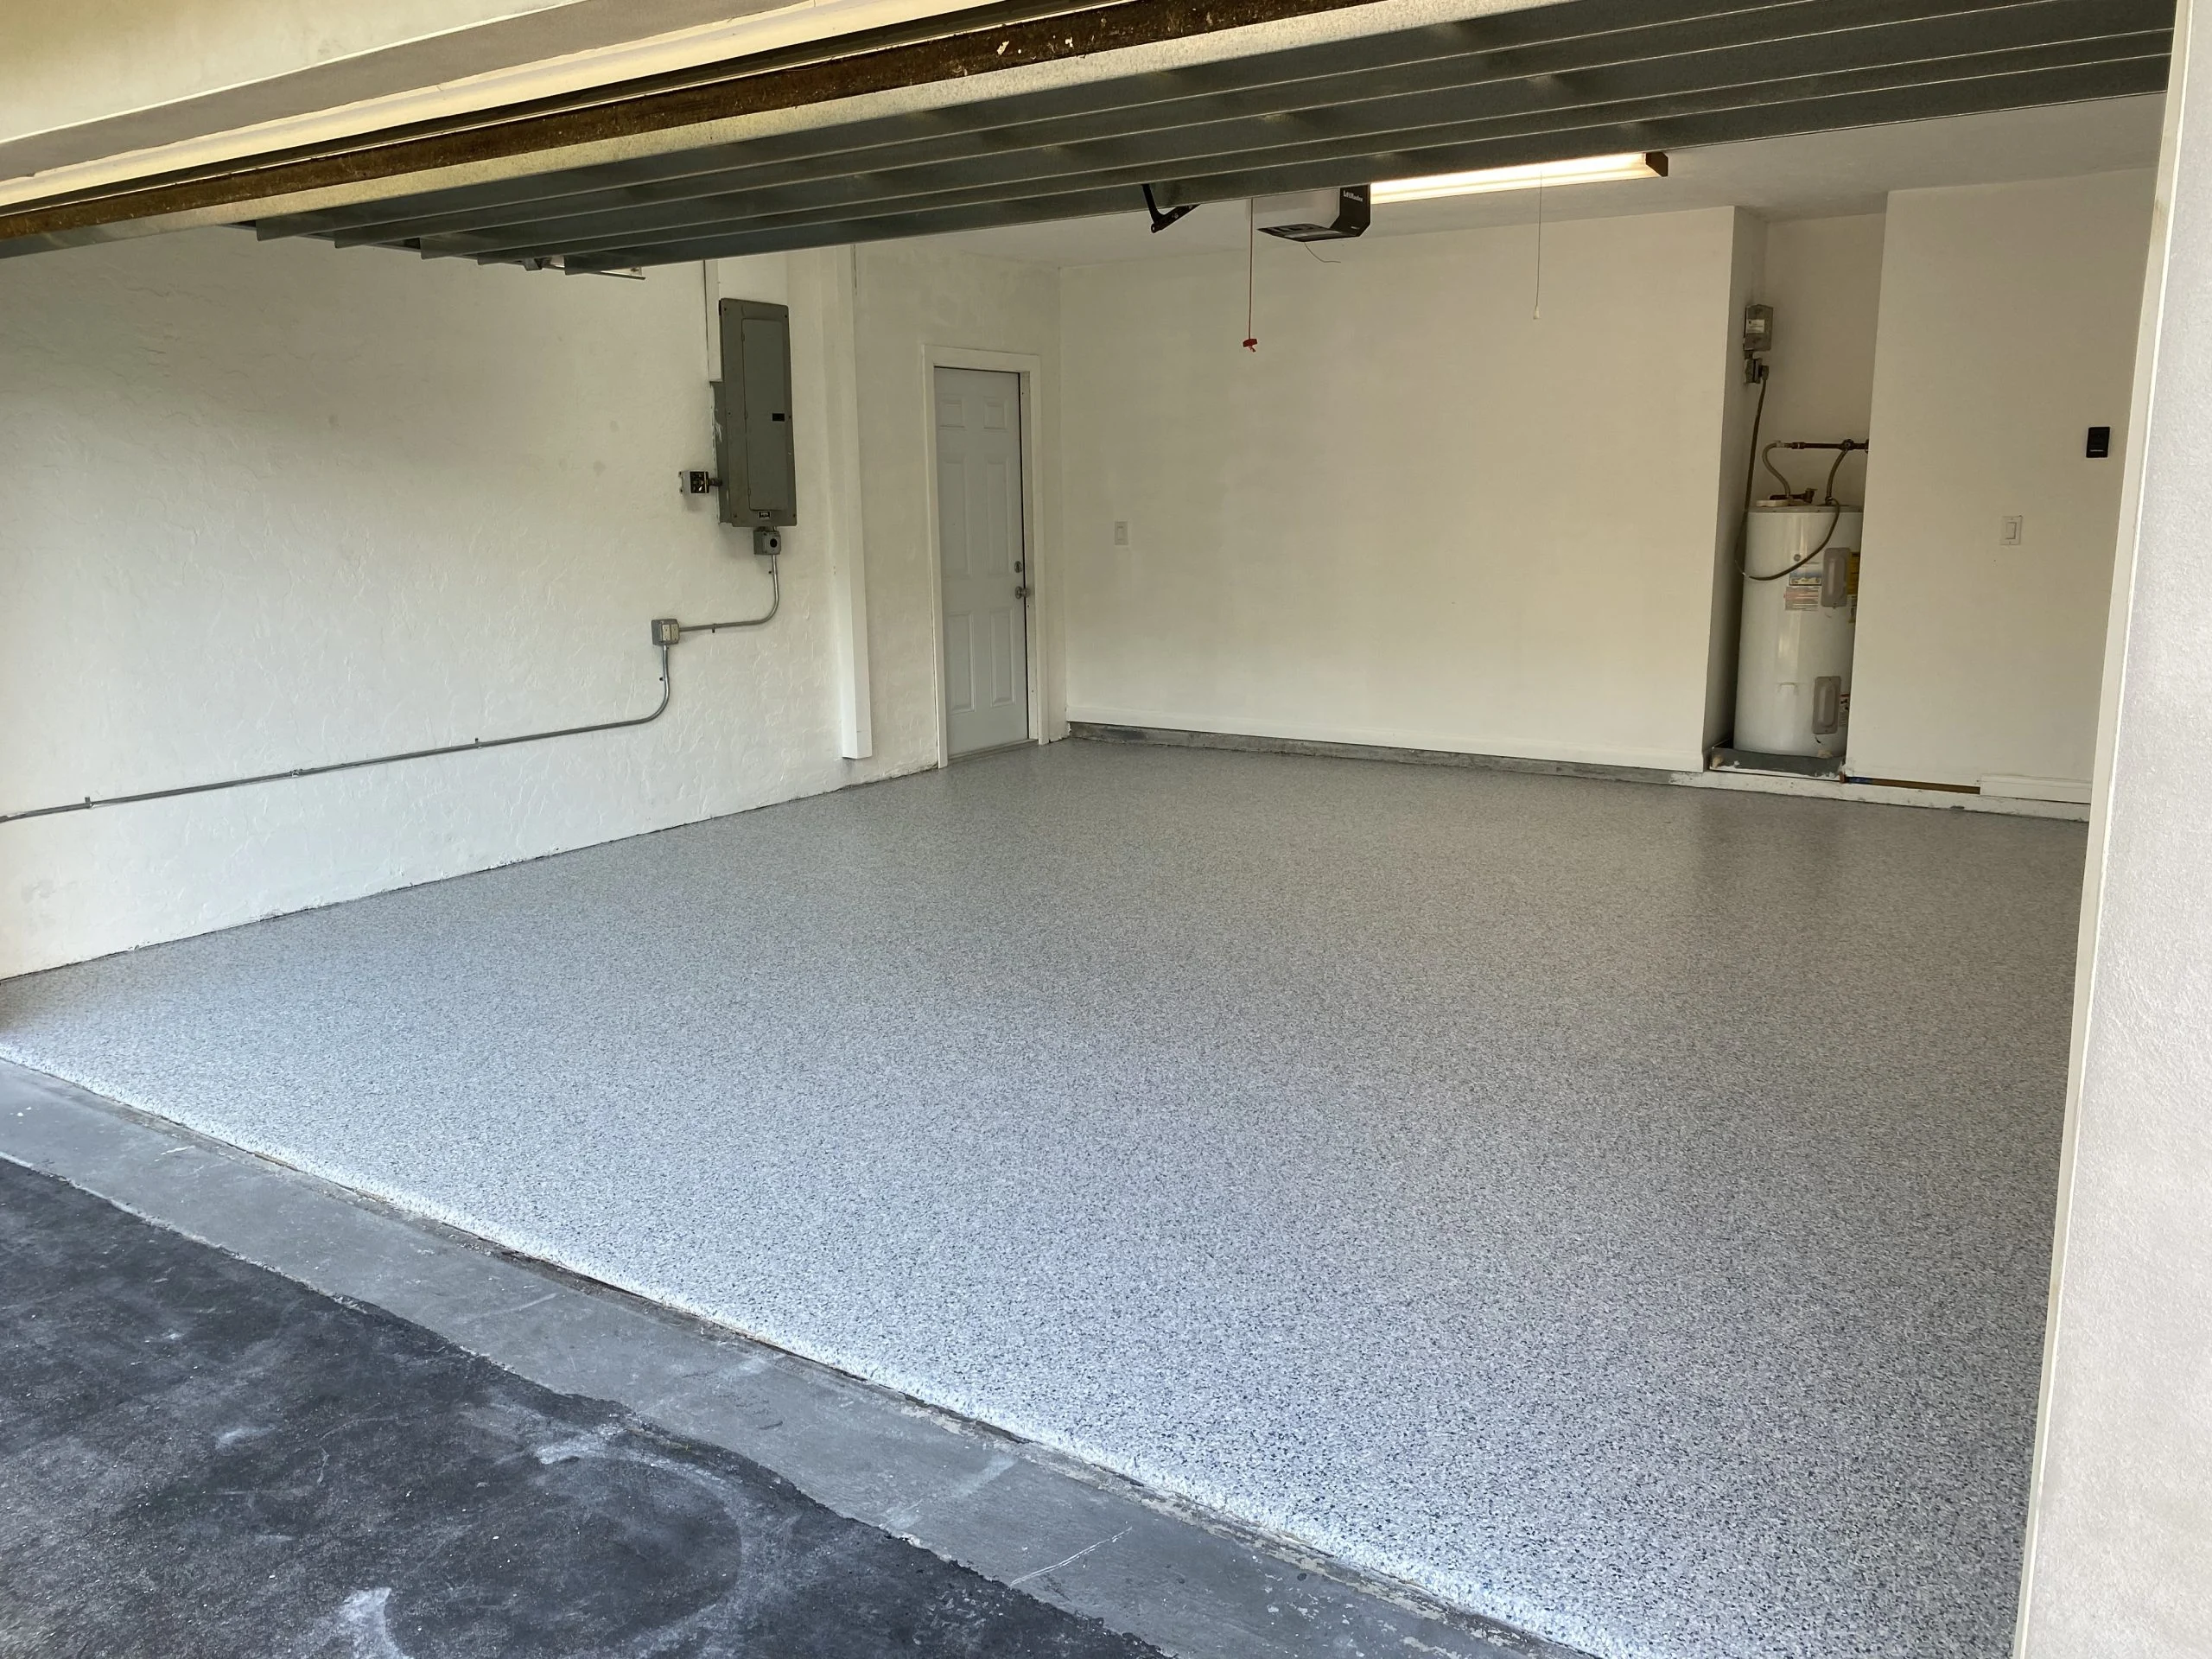
Your garage floor takes more punishment than any other surface in your home. Oil drips, tire marks, road salt, heavy tools crashing down, and yet most homeowners treat their garage slab like an afterthought. What if you could turn that stained, cracking eyesore into a showroom-worthy surface in a single weekend? That is exactly what a professional garage floor epoxy coating delivers: a dramatic transformation that protects your concrete for years while making your entire garage look and feel brand new.
Why Your Garage Floor Deserves an Epoxy Coating

Most homeowners invest in kitchen upgrades and bathroom remodels without ever considering the garage, the space where they start and end every single day. A bare concrete garage floor is porous, meaning it absorbs moisture, stains, and chemicals that slowly destroy it from within. Over time, that degradation leads to cracks, pitting, and a surface that looks neglected, no matter how often you sweep it.
An epoxy coating solves every one of those problems. It creates a seamless, non-porous barrier that resists chemicals, impacts, and abrasion. It is also surprisingly easy to maintain — a quick mop is all it takes to keep it looking pristine. Beyond protection, garage floor coatings enhance light reflectivity, brighten the entire space, and can even increase your property value.
How to Apply Epoxy Garage Floor Coating: The Step-by-Step Process
Understanding the process helps you appreciate why each step matters and why shortcuts lead to failure. Here is an overview of how a proper epoxy garage floor coating is applied.
Step 1: Clear and Inspect the Floor
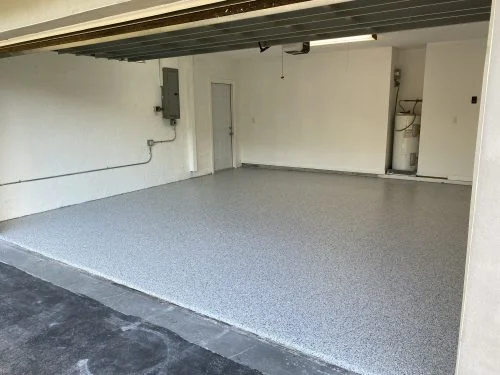
Everything comes out of the garage. Every shelf, tool chest, and storage bin must be removed so the entire slab is accessible. Once cleared, the floor is inspected for cracks, spalling, moisture issues, and prior coatings that could compromise adhesion.
Step 2: Surface Preparation
This is the single most critical step. Proper surface preparation involves diamond grinding or shot blasting the concrete to create an ideal profile for the epoxy to bond with. Skipping this step or substituting a simple acid etch is the number one reason DIY epoxy jobs peel and fail within months.
Step 3: Repair and Prime
Cracks and divots are filled with specialized concrete repair compounds. A primer coat is then applied to seal the concrete and create the optimal bonding surface for the epoxy system.
Step 4: Apply the Epoxy Base Coat
The mixed epoxy resin is rolled onto the prepared floor in even, consistent layers. Temperature and humidity must be carefully monitored during application, as Southwest Florida’s climate can dramatically affect cure times and adhesion.
Step 5: Add Decorative Flake or Color (Optional)
Vinyl color flakes are broadcast into the wet epoxy to add texture, visual depth, and slip resistance. This is where your garage floor goes from functional to stunning.
Step 6: Apply the Top Coat and Cure
A clear polyaspartic or urethane top coat seals everything in, providing UV stability, chemical resistance, and a high-gloss or satin finish. The floor then needs proper cure time — typically 24 hours before foot traffic and 72 hours before parking vehicles.
DIY vs. Professional Garage Floor Epoxy: An Honest Comparison
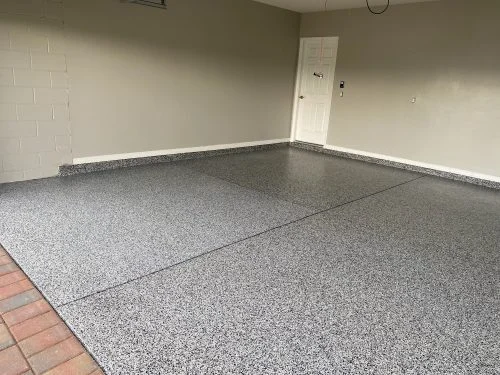
Before you grab a big-box store kit this weekend, consider what you are actually getting compared to a professional installation.
| Factor | DIY Epoxy Kit | Professional Installation |
|---|---|---|
| Surface Prep | Acid etch (often insufficient) | Diamond grinding for a proper concrete profile |
| Product Quality | Thin, water-based epoxy | Commercial-grade 100% solids epoxy systems |
| Lifespan | 1–3 years before peeling | 10–20+ years with proper maintenance |
| Application Time | Full weekend of labor | Completed by a trained crew in one day |
| Warranty | Limited or none | Backed by a professional warranty |
| Appearance | Inconsistent coverage, bubbles | Flawless, showroom-quality finish |
| Cost Over Time | Repeated reapplications add up | One investment, lasting results |
Why Professional Installation Wins Every Time
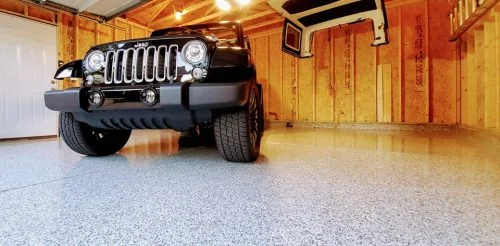
The table above tells a clear story, but the real difference comes down to one word: durability. A professionally installed epoxy floor does not just look better on day one; it performs better on day one thousand. Commercial-grade materials, industrial surface preparation equipment, and experienced installers eliminate the guesswork that sinks most DIY projects.
When you look at our process, you will see that every detail is engineered for longevity. From moisture testing to precision grinding to climate-controlled application, professional crews handle variables that no YouTube tutorial can prepare you for. And in Southwest Florida’s heat and humidity, those variables are significant.
The results speak for themselves. Homeowners across the region have experienced the kind of garage makeover that turns a forgotten utility space into the cleanest room in the house. Whether you want a sleek, modern finish or a rugged surface built to handle a working garage, professional concrete coatings deliver exactly what you need.
Ready to Transform Your Garage?
You now know what it takes to apply epoxy garage floor coating correctly. The question is whether you want to spend your weekend doing it yourself with uncertain results or let Southwest Florida’s top-rated epoxy team handle it while you enjoy your weekend knowing the job is done right.
Prefer to skip the weekend project entirely? our pro garage installation crew across Lee County can install a longer-lasting polyaspartic system in 1-2 days.
Epoxy Floors N More has transformed thousands of garage floors across Southwest Florida with residential epoxy systems built to last. Stop settling for a stained, cracked garage slab.
Contact us today for a free consultation and discover how fast your garage floor can go from worn out to world-class.
Written by
Timothy Gonzalez
Epoxy Floors N More shares practical guidance based on floor coating work across Southwest Florida.